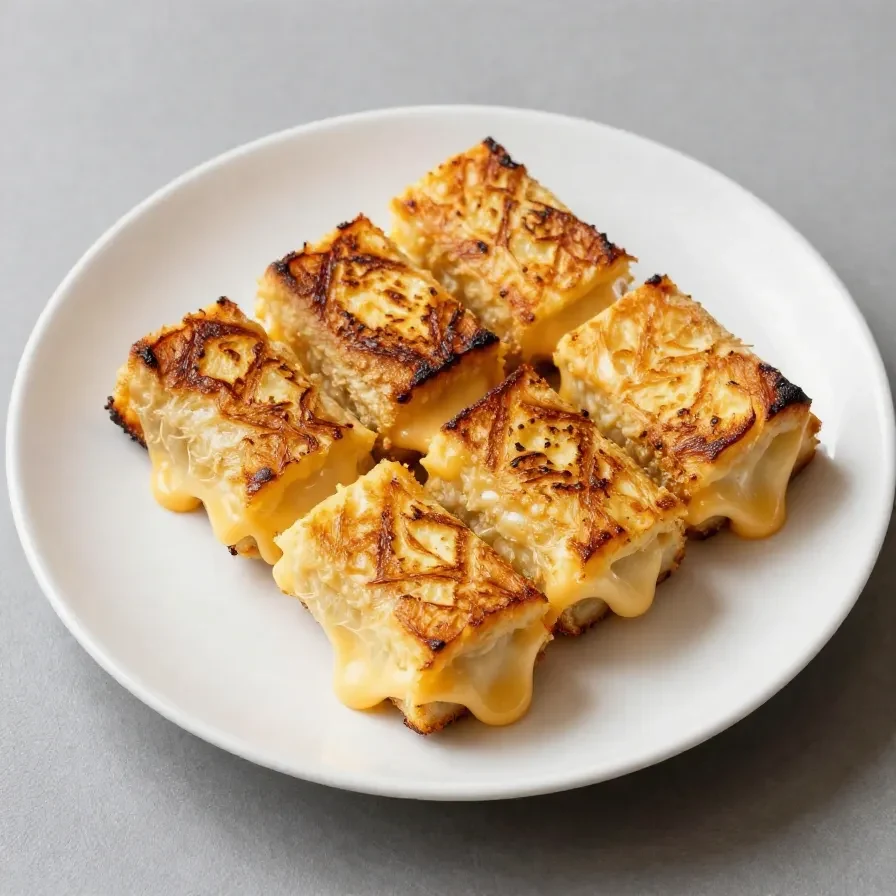
Grilled Cheese Roll-Ups
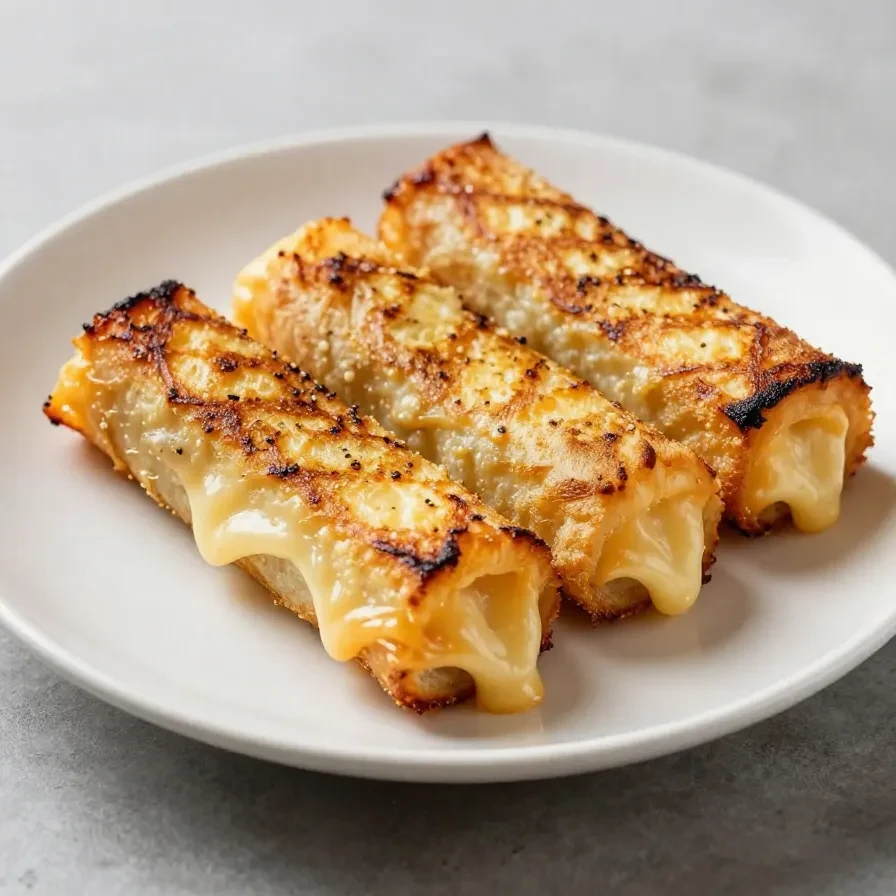
Grilled Cheese Roll-Ups bring all the gooey, melty delight of a classic grilled cheese sandwich in a snackable, handheld twist. The buttery crispness of toasted bread wraps perfectly around melted cheese, creating bite-sized pockets of cheesy goodness. With their irresistible texture and portability, these roll-ups are ideal for school lunches, snack time, or those picky eaters who crave simplicity.
Table of Contents
Why Grilled Cheese Roll-Ups Makes Life Easier
- Perfect for picky eaters: The simple, familiar flavors of melted cheese and toasted bread make this a go-to dish for kids who struggle with trying new foods. It’s comforting and crispy, without surprises.
- Portable and mess-free: Unlike traditional grilled cheese sandwiches, these roll-ups are easy to pack for school lunches or on-the-go snacks. No crumbly mess or dripping fillings.
- Quick and easy: Preparing Grilled Cheese Roll-Ups takes minimal effort and just a few simple ingredients. Perfect for chaotic mornings or when you need an easy kids snack on the go.
- Customizable: Swap the cheese type for something new or add a pinch of seasoning for variety—without straying far from its kid-friendly appeal.
Everything You Need for Grilled Cheese Roll-Ups
- 4 slices sandwich bread
- 4 slices cheese (cheddar or your favorite)
- 2 tablespoons unsalted butter, softened
The sandwich bread forms the base, allowing it to roll and crisp beautifully when toasted. Cheese selection can change the flavor profile, but cheddar remains a classic choice for its sharpness and meltability.
How To Make Grilled Cheese Roll-Ups Step by Step
- Start by trimming the crusts off the bread slices using a sharp knife or kitchen scissors. This helps the bread roll up smoothly without breaking.
- Flatten each slice of bread with a rolling pin until it’s thin and pliable. This step ensures the roll-ups can hold their shape after cooking.
- Place one slice of cheese on each piece of flattened bread and carefully roll it up, securing the edges tightly.
- Spread the softened butter evenly across the outside of each roll-up, ensuring all sides are coated. This adds the perfect golden crispness when toasted.
- Heat a skillet or nonstick pan over medium heat. Place the roll-ups seam-side down in the pan and cook until golden brown, rotating as needed—about 2 minutes per side.
- Remove the roll-ups from the skillet and serve warm for optimal cheese melt and crispy exterior.
Serving Ideas for Grilled Cheese Roll-Ups
- Pair with tomato soup: The creamy warmth of soup complements the cheesy roll-ups perfectly.
- Serve with fresh fruit: Add a side of sliced apples or grapes for a refreshing contrast.
- Include veggie sticks: Carrot or cucumber sticks bring texture and balance for a healthier snack option.
- Add a dipping sauce: Marinara or ranch dressing makes dipping fun and flavorful.
How to Store and Reheat Grilled Cheese Roll-Ups
To store leftovers, wrap cooled roll-ups in plastic wrap or place them in an airtight container. Store in the fridge for up to 3 days or freeze for up to 1 month.
Reheat refrigerated roll-ups in a skillet over medium heat, turning occasionally until warmed through. For frozen roll-ups, thaw overnight in the fridge before reheating for best results.
Looking for something similar? Try our cream cheese chicken bake recipe.
For more ideas, check out our how to make a grilled.
You might also enjoy our sausage egg breakfast roll-ups –.
Common Mistakes to Avoid
- Skipping the butter: Without butter, the bread won’t crisp properly, leaving the roll-ups chewy instead of crunchy.
- Overcooking: Cooking on high heat can burn the bread before the cheese melts. Stick to medium heat for even cooking.
- Loose rolling: If the bread isn’t rolled tightly, the cheese may spill out while cooking. Keep the edges sealed when rolling.
Common Questions
- Can I use gluten-free bread for this recipe? Yes, but make sure it’s soft and pliable for easier rolling.
- What type of cheese works best? Cheddar is classic, but mozzarella, Swiss, or pepper jack can be used for variety.
- Can I make these ahead of time? Absolutely—store rolled, uncooked roll-ups in the fridge and toast them just before serving.
Loved this recipe? Save it to your favorite Pinterest board so you can easily find it later! ✨