Kool-Aid Grapes
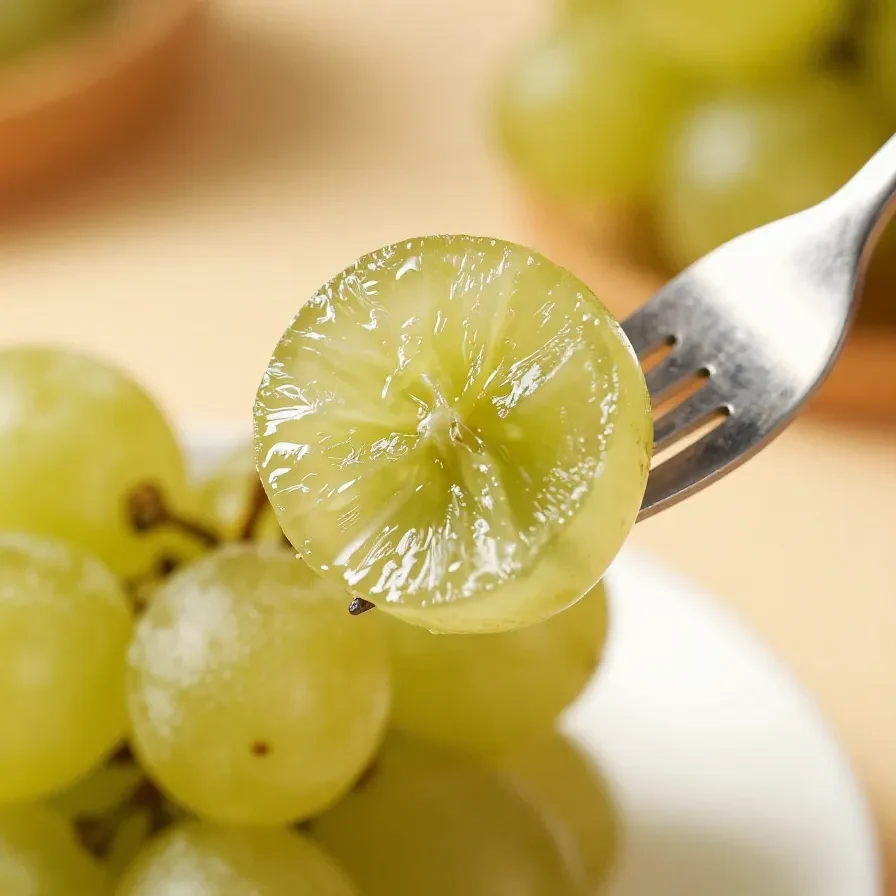
Kool-Aid Grapes combine the refreshing sweetness of chilled grapes with the tangy, vibrant flavors of Kool-Aid powder, creating an irresistible candy-like coating with a fun, fruity twist. This snack is a colorful treat that’s perfect for kids’ lunchboxes, party tables, or anytime you want to jazz up a healthy snack. With their crunchy texture and bold pops of flavor, these grapes will quickly become a favorite in your home.
Table of Contents
- Why Kool-Aid Grapes Are Perfect for Busy Families
- Everything You Need to Make Kool-Aid Grapes
- Step-by-Step Guide to Creating Kool-Aid Grapes
- Fun Ways to Serve Kool-Aid Grapes
- Tips for Storing and Packing Kool-Aid Grapes
- Your Questions About Kool-Aid Grapes, Answered
- Avoid These Mistakes When Making Kool-Aid Grapes
Why Kool-Aid Grapes Are Perfect for Busy Families
- Fast and simple to prepare: Kool-Aid Grapes come together in minutes without any cooking or complicated steps.
- Kids love them: The bold colors and tangy-sweet flavors are irresistible for little snackers.
- Portable and mess-free: These grapes are great for lunchboxes, car rides, or any time you need a quick grab-and-go snack.
- Customizable flavors: With so many Kool Aid flavors to choose from, there’s no limit to the combinations you can try.
Everything You Need to Make Kool-Aid Grapes
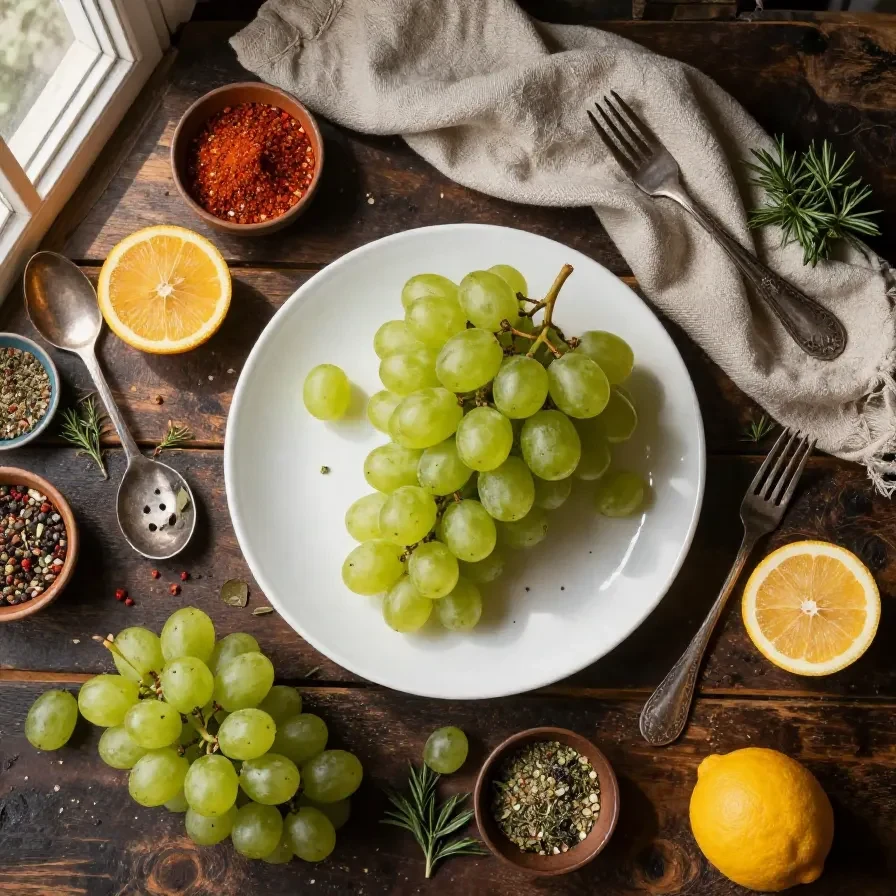
- 1 pound seedless grapes (green or red)
- 1 packet Kool Aid powder (any flavor)
- 1/4 cup granulated sugar
The seedless grapes provide the perfect juicy base for this recipe, while the Kool Aid powder packs a punch of flavor and color. Granulated sugar ensures the outer coating crystallizes, giving the grapes their candy-like crunch.
Step-by-Step Guide to Creating Kool-Aid Grapes
- Wash the grapes thoroughly under cold water to remove any dirt or residue, then pat them dry with a clean paper towel.
- Prepare a large mixing bowl and add the Kool Aid powder along with the granulated sugar. Stir them together until evenly combined.
- Place the clean, dry grapes into a small bowl, then lightly coat them with water to make the surface sticky.
- Roll each grape in the Kool Aid and sugar mixture, ensuring an even coating on all sides.
- Arrange the coated grapes on a baking tray lined with parchment paper and let them sit in the refrigerator for 15-20 minutes to set.
- Once chilled, transfer the Kool-Aid Grapes to a serving bowl or airtight container for storage.
Fun Ways to Serve Kool-Aid Grapes
- As a colorful addition to a fruit platter at kids’ parties.
- Perfect for road trips where you want snacks that are both fun and practical.
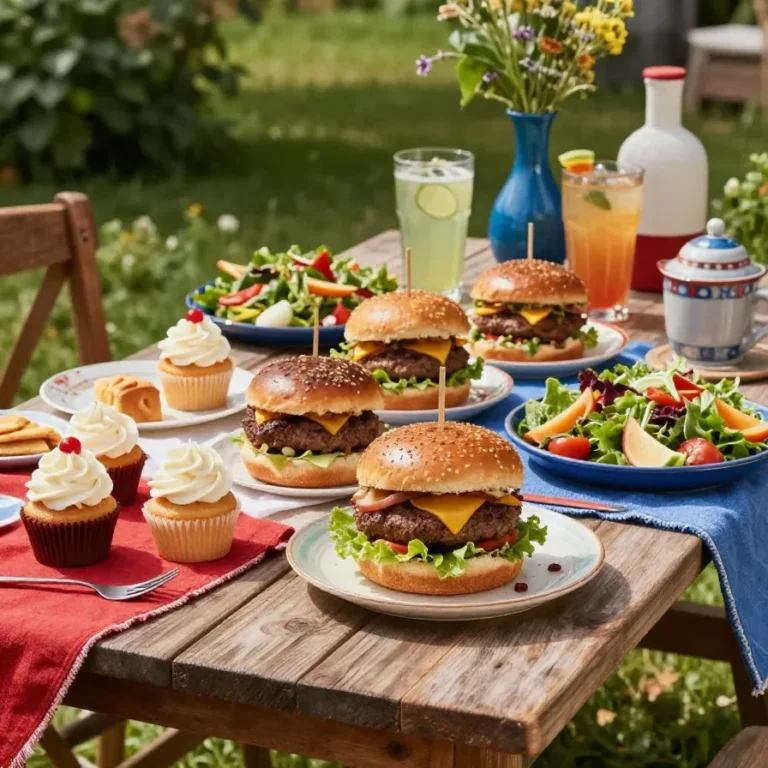
- Add to dessert tables to complement cupcakes and cookies with a healthier option.
- Serve chilled on a hot day for an extra refreshing treat.
Tips for Storing and Packing Kool-Aid Grapes
Store Kool-Aid Grapes in an airtight container in the refrigerator for up to 3 days for the best texture and freshness. If you’re making these ahead of time for an event, keep them chilled right up until serving. Avoid freezing them as the texture of the grapes can become mushy once thawed.
For lunchboxes or snacks on the go, pack the chilled grapes in a reusable container or zip-top bag. Add an ice pack to keep them cool if you’re traveling on a warm day.
Your Questions About Kool-Aid Grapes, Answered
- Can I use frozen grapes for this recipe? It’s best to use fresh grapes since frozen ones won’t hold the coating well.
- What’s the best Kool Aid flavor for this recipe? Popular choices include cherry, grape, and blue raspberry, but feel free to experiment with your favorites.
- Do I need to use sugar, or can I skip it? The sugar creates the candy-like crunch, but you can skip it for a softer texture.
Avoid These Mistakes When Making Kool-Aid Grapes
- Skipping the drying step: Wet grapes won’t hold the Kool Aid and sugar coating properly.
- Using the wrong type of grapes: Opt for seedless varieties to avoid unpleasant surprises while eating.
- Overcoating: Too much powder can overwhelm the grape’s natural sweetness, so aim for a light and even coverage.
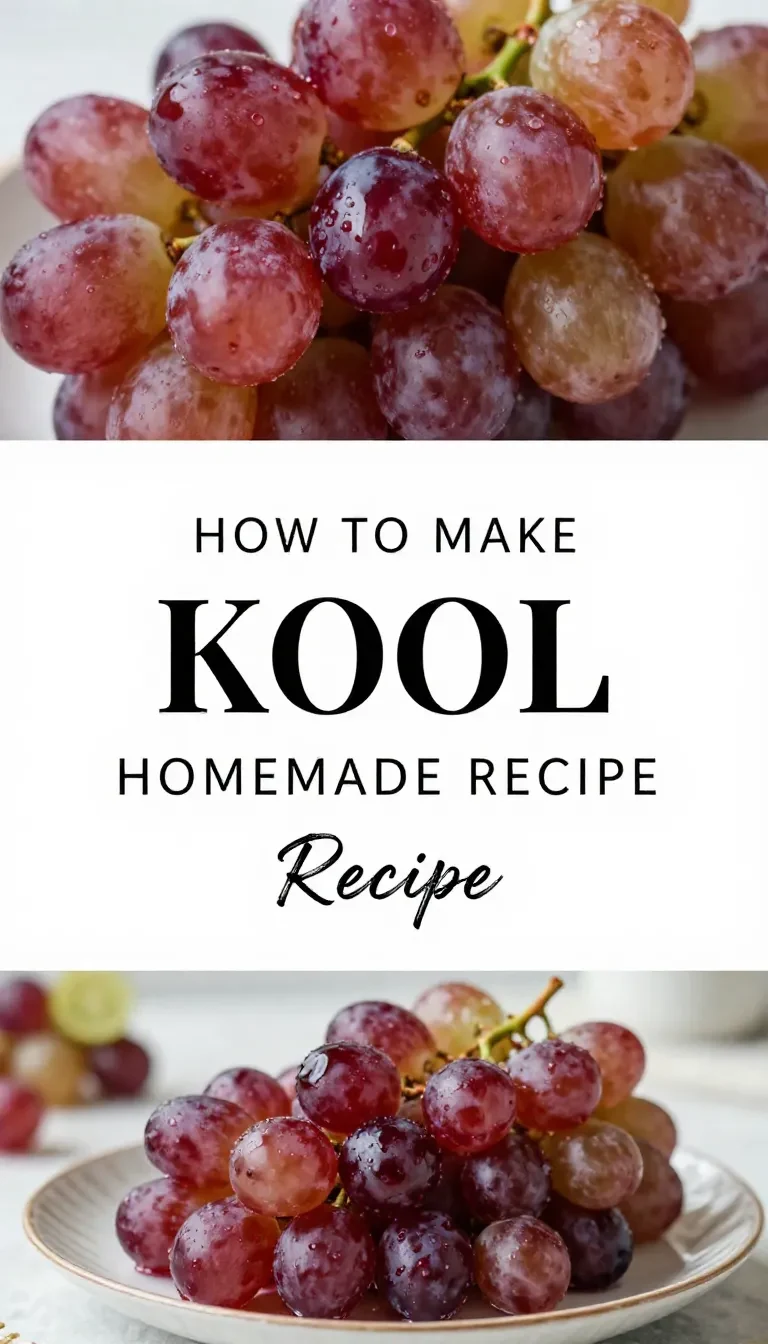
Loved this recipe? Save it to your favorite Pinterest board so you can easily find it later! ✨