Mini Pumpkin Krispie Treats
This post contains affiliate links. As an Amazon Associate, I earn from qualifying purchases. This comes at no extra cost to you.
Mini Pumpkin Krispie Treats Recipe
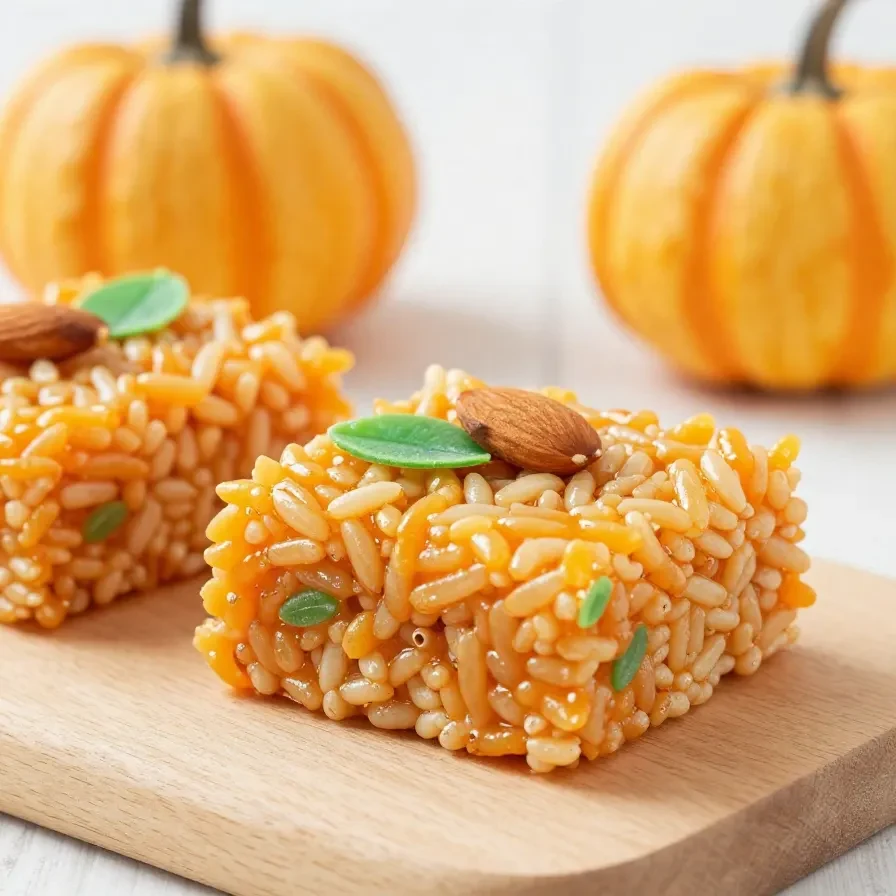
Rice krispy treats thanksgiving is a whimsical no-bake dessert made with crispy rice cereal, mini marshmallows, and a touch of pumpkin pie spice. This recipe, ready in just 15 minutes, shapes the treats into adorable mini pumpkins, perfect for fall parties. With a satisfying crunch and subtle spiced sweetness, it’s an ideal addition to any Thanksgiving dessert spread or festive table.
I first made these Mini Pumpkin Krispie Treats with my niece, Chloe, who couldn’t stop giggling as we shaped the pumpkins. They’re a playful project and a guaranteed hit with kids and grown-ups alike!
Table of Contents
- Why are Mini Pumpkin Krispie Treats so popular?
- What ingredients do you need for Mini Pumpkin Krispie Treats?
- How do you make Mini Pumpkin Krispie Treats step by step?
- Frequently Asked Questions About Mini Pumpkin Krispie Treats
- What can you serve with Mini Pumpkin Krispie Treats?
- What mistakes should you avoid when making this recipe?
- How do you store and reheat Mini Pumpkin Krispie Treats?
- Expert tips for making these treats even easier
Why are Mini Pumpkin Krispie Treats so popular?
Mini Pumpkin Krispie Treats are popular because they’re festive, easy to make, and perfect for any fall gathering. These no-bake treats are kid-friendly and shaped like pumpkins, making them a visual and tasty delight.
- Festive charm: The pumpkin shapes bring a seasonal flair that’s perfect for Thanksgiving dessert trays or Halloween parties.
- Quick and simple: Ready in just 15 minutes, they’re ideal for busy schedules.
- No-bake convenience: No oven needed, making this recipe perfect for kids to join in on the fun.
- Customizable: Add extra decorations if you like, such as edible glitter or candy eyes for a spookier twist!
What ingredients do you need for Mini Pumpkin Krispie Treats?
To make Mini Pumpkin Krispie Treats, you’ll need simple pantry staples like crispy rice cereal, butter, and marshmallows, plus a few festive additions for that pumpkin vibe.
- 3 tablespoons unsalted butter
- 4 cups mini marshmallows
- 6 cups crispy rice cereal
- 1/2 teaspoon pumpkin pie spice
- 1/2 teaspoon vanilla extract
- Orange gel food coloring
- Green candy-coated chocolates (e.g., green M&Ms or similar)
- Pretzel sticks (broken into small pieces for stems)
The pumpkin pie spice adds a cozy hint of fall flavor, and the orange gel food coloring gives these treats their vibrant seasonal look.
How do you make Mini Pumpkin Krispie Treats step by step?
To make these Mini Pumpkin Krispie Treats, you’ll simply melt, mix, shape, and decorate for a festive fall treat. The steps are straightforward and fun for all ages!
Step 1 — Melt the Butter
In a large pot, melt the butter over medium-low heat. Stir occasionally to ensure the butter doesn’t burn.
Step 2 — Add Marshmallows
Add the mini marshmallows to the melted butter. Stir continuously until the marshmallows are fully melted and the mixture is smooth.
Step 3 — Add Flavorings and Color
Mix in the pumpkin pie spice and vanilla extract. Add a few drops of orange gel food coloring and stir until the color is evenly distributed.
Step 4 — Mix in the Cereal
Remove the pot from heat and gently fold in the crispy rice cereal. Stir until all the cereal is coated with the marshmallow mixture.


Step 5 — Shape the Pumpkins
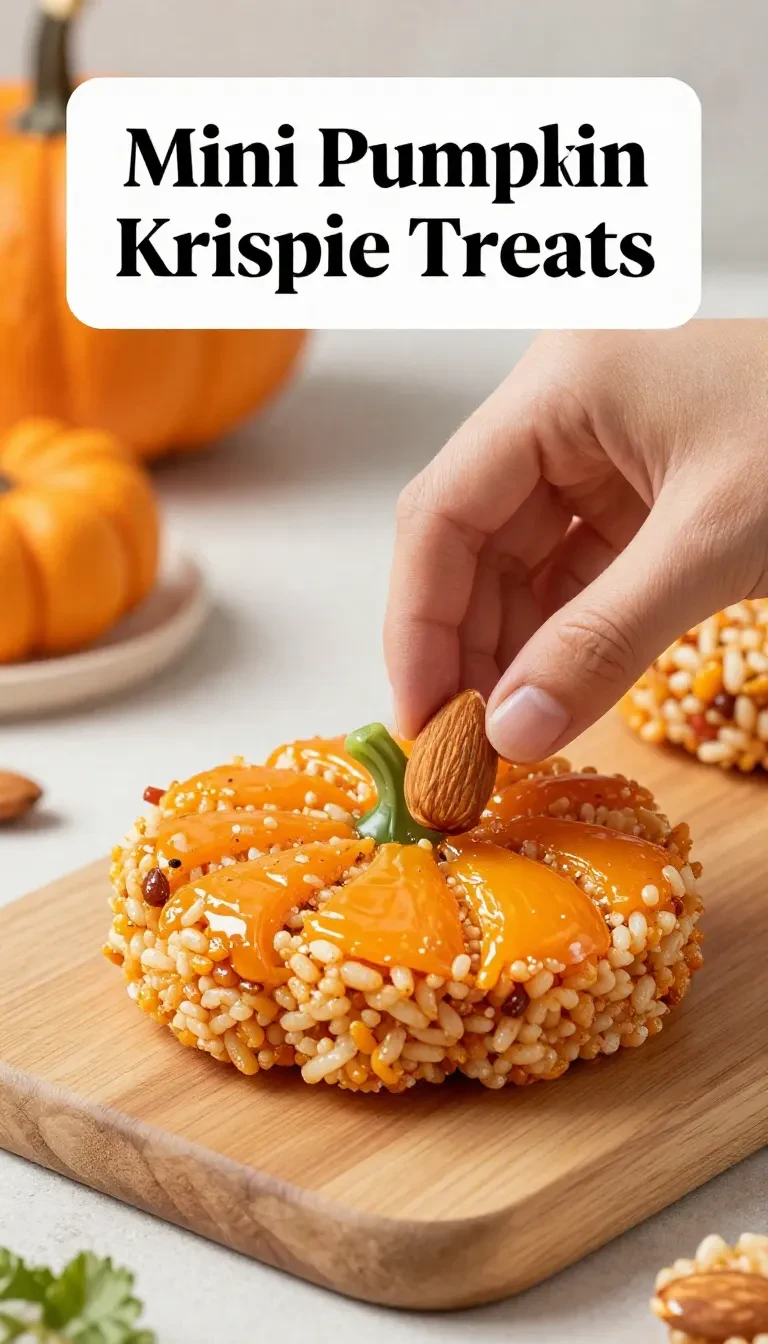
Allow the mixture to cool for 1-2 minutes. Lightly grease your hands with butter or cooking spray, then take small portions and roll them into mini pumpkin-shaped balls.
Step 6 — Add Stems and Leaves
Insert a small pretzel stick into the top of each ball to resemble a pumpkin stem. Press one green candy-coated chocolate next to the stem for a leaf.
Step 7 — Cool and Set
Let the pumpkin-shaped treats cool completely at room temperature before serving. They’ll firm up as they cool.
Frequently Asked Questions About Mini Pumpkin Krispie Treats
Can I make these treats ahead of time?
Yes, you can make them up to 2 days in advance. Store in an airtight container at room temperature to keep them fresh.
What can I use instead of orange gel food coloring?
If you don’t have gel food coloring, you can use liquid food coloring, though the color might be less vibrant.
How many treats does this recipe make?
This recipe makes approximately 12 mini pumpkin-shaped treats, depending on the size you shape them into.
Can I add extra decorations?
Absolutely! You can add candy eyes or edible glitter if you want to make them extra festive or spooky for Halloween.
What happens if the mixture hardens too quickly?
If the mixture hardens before shaping, gently warm it for a few seconds on the stovetop to soften it again.
What can you serve with Mini Pumpkin Krispie Treats?
Mini Pumpkin Krispie Treats pair perfectly with warm fall drinks like cider or hot chocolate. They also make a delightful addition to a dessert tray alongside classic pies and cookies. For added flair, serve with some roasted nuts or our roasted cajun and salted pumpkin seeds.
What mistakes should you avoid when making this recipe?
- Overheating the marshmallows: This can make the mixture too hard to work with. Use medium-low heat and stir constantly.
- Waiting too long to shape: The mixture hardens as it cools, so shape the pumpkins quickly after mixing.
- Skipping greased hands: Sticky hands will make shaping frustrating. Grease your hands lightly for smoother shaping.
How do you store and reheat Mini Pumpkin Krispie Treats?
Store Mini Pumpkin Krispie Treats in an airtight container at room temperature for up to 3 days. For longer storage, freeze them in a freezer-safe bag for up to 1 month. Thaw at room temperature; no reheating is necessary!
Expert tips for making these treats even easier
- Use gel food coloring: Gel food coloring gives a more vibrant color and won’t water down the mixture.
- Work in batches: If the mixture seems too sticky, divide it into smaller portions for easier shaping.
- Prep before you start: Have your pretzel sticks and chocolates ready to go so you can decorate while the mixture is still soft.
- Grease your tools: Lightly grease your mixing spoon and bowl to prevent sticking.
Loved this recipe? Save it to your favorite Pinterest board so you can easily find it later! ✨