Snow Cone Syrup
This post contains affiliate links. As an Amazon Associate, I earn from qualifying purchases. This comes at no extra cost to you.
Snow cone syrup is a simple sugar syrup made with 2 cups granulated sugar, 1 cup water, citric acid or lemon juice, fruit extract or flavoring, and optional food coloring, ready in about 10 minutes. This easy recipe makes about 2 cups and pours smoothly over shaved ice for bright flavor in every spoonful. I test recipes like this for quick summer treats I can serve without extra fuss.
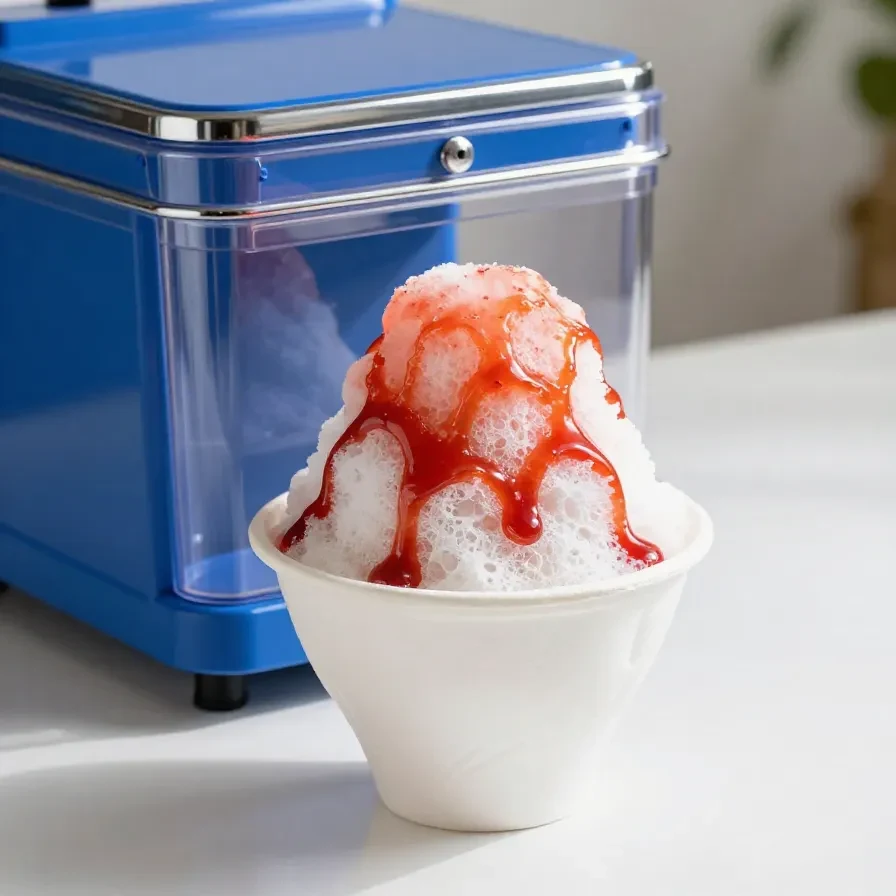
The finished syrup has a glossy texture and a sweet-tart finish that clings to crushed ice instead of soaking straight through. I measured this batch for a syrup bottle, and it cooled into a pourable consistency that works well at Party Stations or beside a Snow Cone Machine.
Table of Contents
- Why is Snow Cone Syrup so popular?
- What ingredients do you need for Snow Cone Syrup?
- How do you make Snow Cone Syrup step by step?
- Frequently Asked Questions About Snow Cone Syrup
Why is Snow Cone Syrup so popular?
Snow cone syrup is popular because it uses 5 basic ingredients, takes about 10 minutes, and gives shaved ice a bold, even coating. The method is simple enough for beginners, and the finished syrup stays easy to pour after cooling and chilling.
- It is fast to make. The cook time is only 5 minutes, so I can have a batch ready before the ice is prepared. That speed helps when I am setting up a quick summer treat table.
- It gives steady flavor. Sugar, water, and fruit extract create a syrup that spreads evenly over ice. That matters because a thin liquid would disappear too fast, while this syrup stays on top.
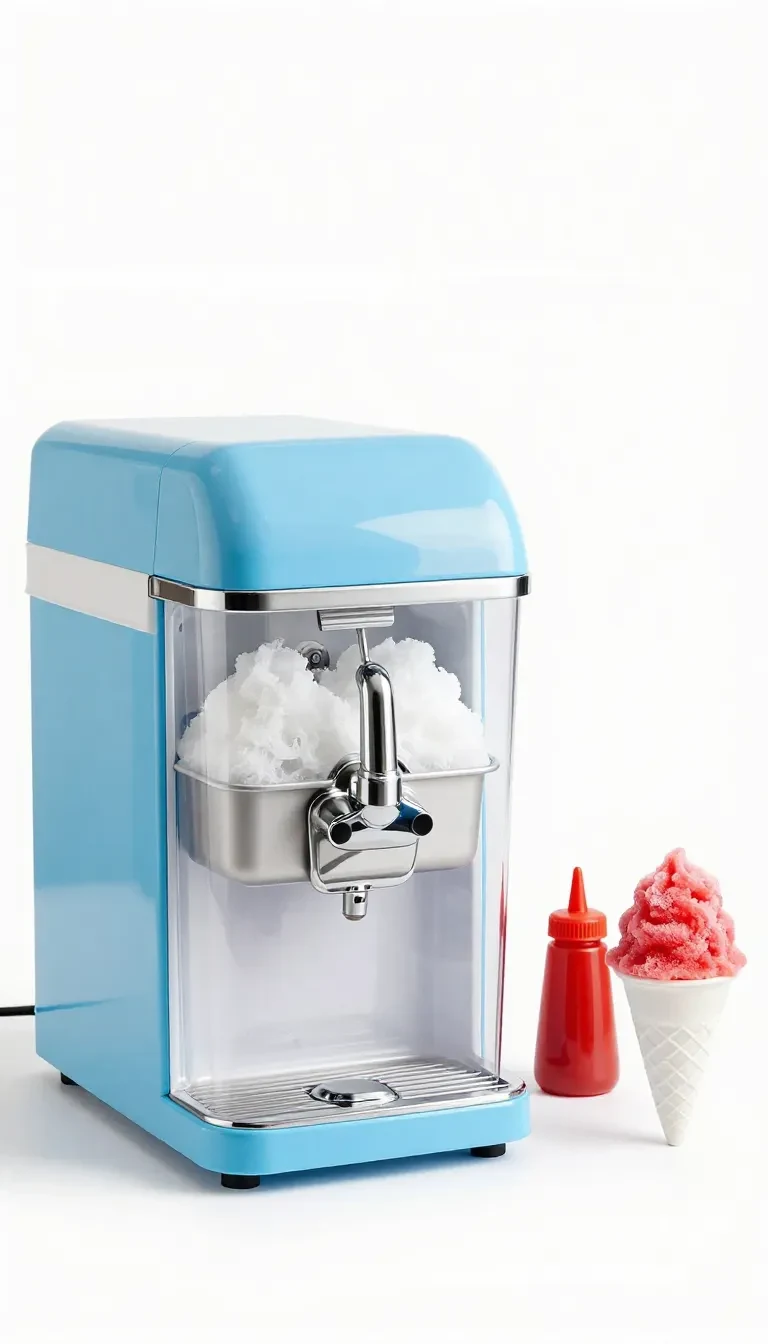
- It fits many setups. Snow Cone Syrup works well with a Snow Cone Maker, a Snow Cone Machine, or even a Slushie Machine for serving ideas. I have also poured it into Reusable Plastic Cups for easier serving and cleanup.
- It can be customized simply. One teaspoon of fruit extract and a few drops of food coloring make it easy to change the look and flavor. Cherry, strawberry, blue raspberry, and mango all work within the same base recipe.
The sweet-tart balance comes from citric acid or lemon juice, which keeps the flavor from tasting flat. That small amount of acid makes the syrup taste brighter without changing the simple cooking process.
What ingredients do you need for Snow Cone Syrup?
Snow cone syrup needs 2 cups of sugar, 1 cup of water, one acid component, one fruit flavor, and optional coloring. These ingredients make about 2 cups of syrup, which is enough for a small party setup or several servings from a single Syrup Bottle.
- 2 cups granulated sugar
- 1 cup water
- 1 teaspoon citric acid or 2 tablespoons lemon juice
- 1 teaspoon fruit extract or flavoring, such as cherry, strawberry, blue raspberry, or mango
- A few drops of food coloring, optional
The sugar is the base that creates the syrup’s body and shine. Citric acid or lemon juice adds the sharp edge that keeps each spoonful from tasting overly sweet.
How do you make Snow Cone Syrup step by step?
Snow cone syrup comes together on the stovetop in one small saucepan and finishes in about 10 minutes total. You dissolve the sugar first, heat it just to a gentle simmer, then flavor it after removing it from the heat so the extract stays bright.
Step 1 — Combine the sugar and water
In a small saucepan, combine 2 cups granulated sugar and 1 cup water. Stir just enough to start blending the ingredients before heating.
Step 2 — Dissolve the sugar
Set the pan over medium heat and stir until the sugar is completely dissolved. This step matters because undissolved sugar can leave a gritty texture in the finished syrup.
Step 3 — Bring it to a gentle simmer
Bring the mixture just to a gentle simmer, then remove it from the heat. I watch for tiny bubbles rather than a hard boil, because the recipe only needs light heating.
Step 4 — Add the flavorings
Stir in 1 teaspoon citric acid or 2 tablespoons lemon juice, 1 teaspoon fruit extract or flavoring, and a few drops of food coloring if using. I tested it with blue raspberry and cherry, and both mixed in quickly once the pan was off the heat.


Step 5 — Let it cool
Let the syrup cool to room temperature. Cooling fully helps the syrup thicken slightly and keeps condensation from collecting inside the storage jar.
Step 6 — Store it for serving
Transfer the syrup to a clean jar or bottle and refrigerate until ready to use. A syrup bottle works especially well here because it makes controlled drizzling easy at Party Stations.
Step 7 — Pour over shaved ice
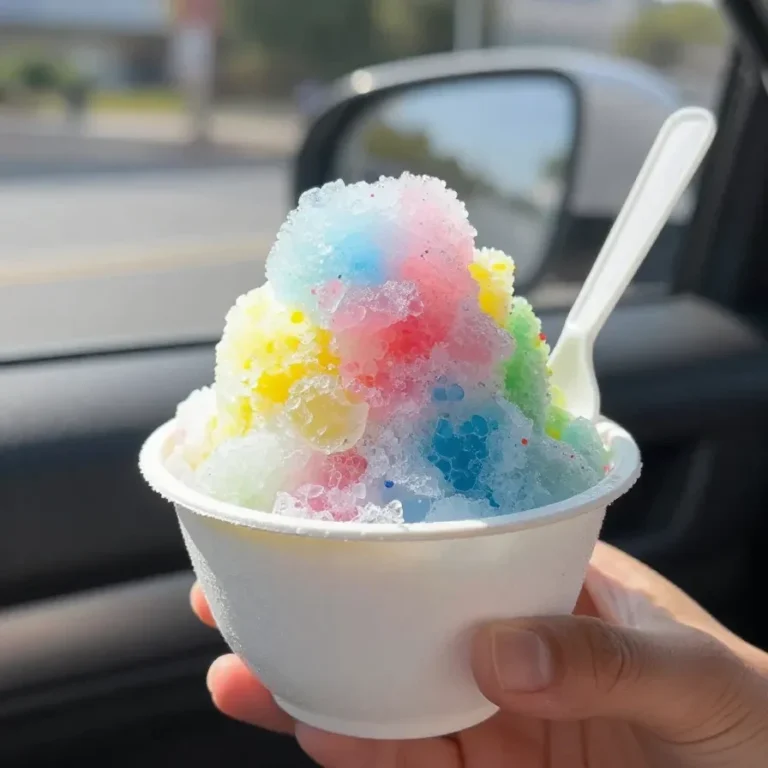
To serve, drizzle over shaved ice or snow cones. The syrup is designed to coat the ice evenly, so a little goes a long way on each serving.
Frequently Asked Questions About Snow Cone Syrup
How long does Snow Cone Syrup take to make?
It takes about 10 minutes total, with 5 minutes of prep and 5 minutes of cooking. The short timeline makes it practical when I need a quick topping for shaved ice.
Can I use lemon juice instead of citric acid?
Yes, 2 tablespoons of lemon juice can replace 1 teaspoon of citric acid. The flavor will be slightly more citrus-forward, but the syrup still works the same way over shaved ice.
What kind of flavoring works best?
Fruit extract or flavoring works best, especially cherry, strawberry, blue raspberry, or mango. I use extracts because they blend smoothly into the syrup and keep the flavor consistent from bottle to bottle.
Do I need food coloring?
No, food coloring is optional. It only changes the appearance, so you can leave it out if you want the syrup to stay natural-looking.
How should I serve it for a party?
Serve it in a Syrup Bottle beside a Snow Cone Machine or Hawaiian Shaved Ice setup. That keeps pouring neat and helps each person control how much syrup they use.
Loved this recipe? Save it to your favorite Pinterest board so you can easily find it later! ✨