Turkey Legs Rice Crispy Treats
Table of Contents
- Why Make These Turkey Legs Rice Crispy Treats?
- What Ingredients Do You Need for Turkey Legs Rice Crispy Treats?
- How Do You Make Turkey Legs Rice Crispy Treats Step by Step?
- Frequently Asked Questions About Turkey Legs Rice Crispy Treats
- How to Serve These Festive Treats?
- Expert Tips for Perfect Turkey Legs Rice Crispy Treats
Why Make These Turkey Legs Rice Crispy Treats?
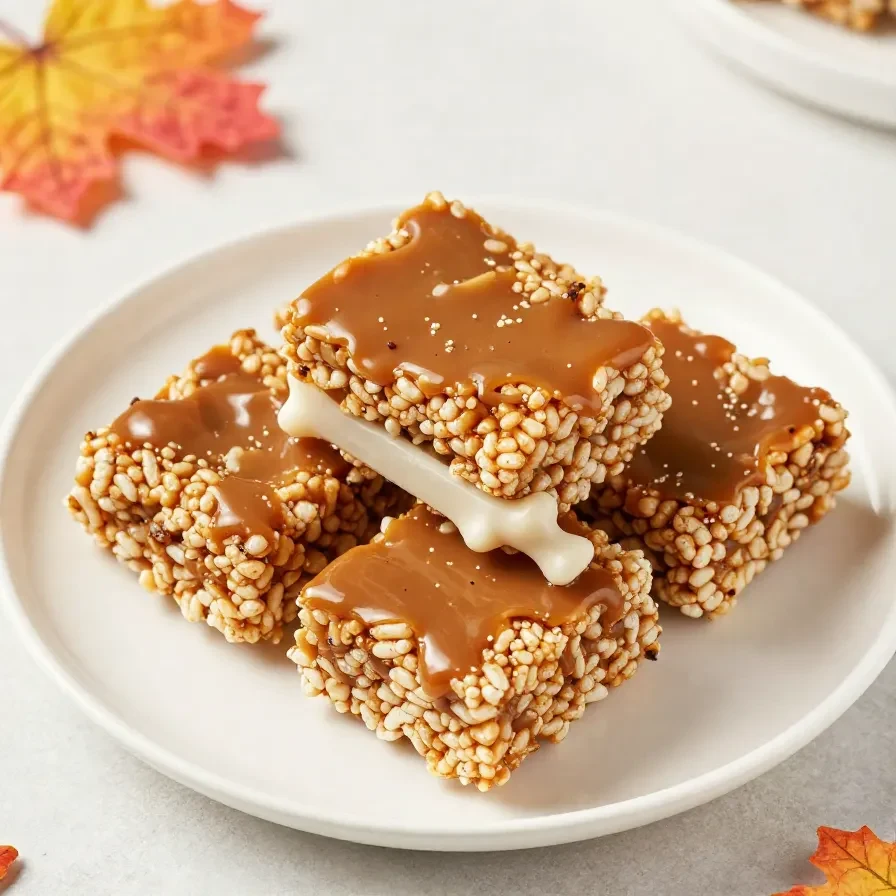
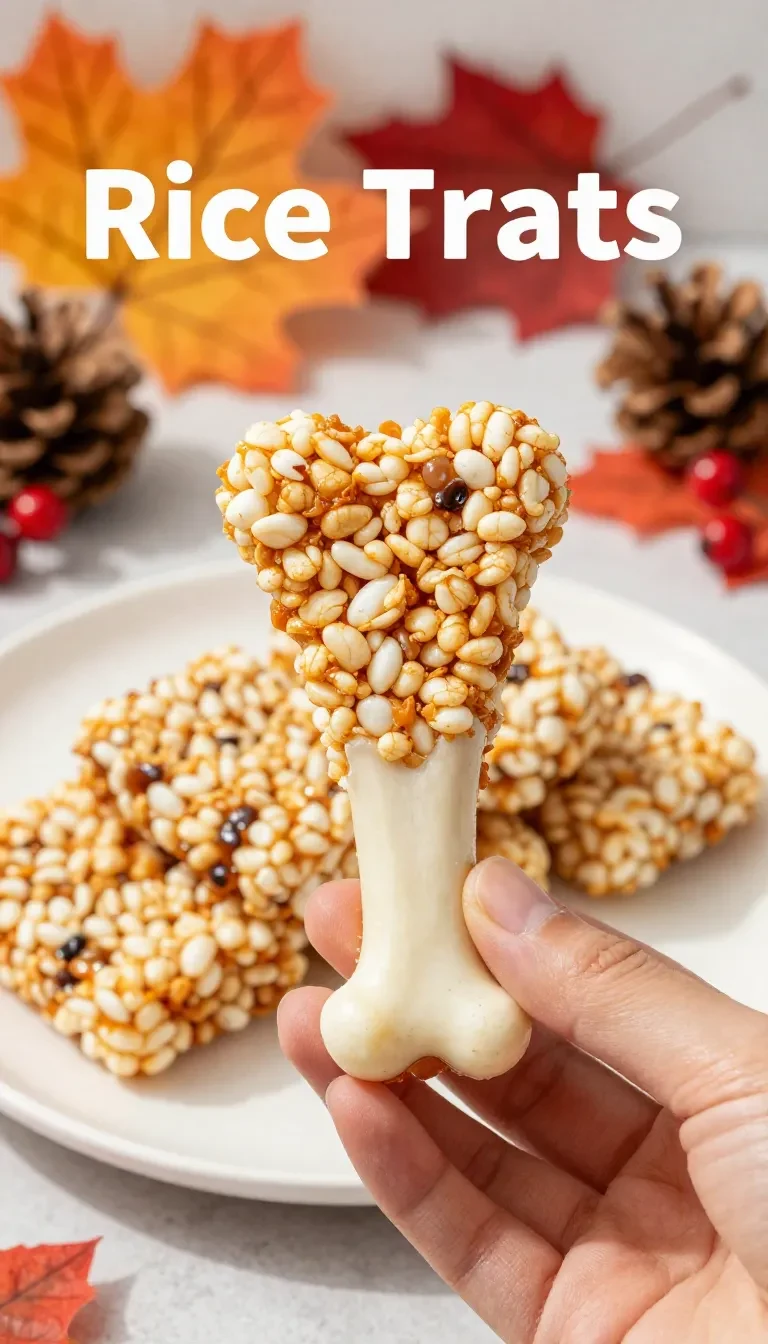
Turkey Legs Rice Crispy Treats are a whimsical and easy-to-make dessert that’s perfect for themed holidays like Thanksgiving. Shaped like mini turkey legs, these treats are sure to put a smile on everyone’s face. Their nostalgic sweetness combined with a playful presentation makes them unforgettable.
- Easy to make: Only 15 minutes of prep and 10 minutes of cook time.
- Kid-friendly: Both making and eating these is a fun experience for kids and adults alike.
- Visually festive: The design mimics turkey legs, perfect for Thanksgiving tables.
- Accessible ingredients: Everything is available in most grocery stores.
What Ingredients Do You Need for Turkey Legs Rice Crispy Treats?
To create Turkey Legs Rice Crispy Treats, you’ll need just seven simple ingredients. Each one adds an essential element to the taste, texture, or appearance.
- 3 tablespoons unsalted butter
- 5 cups mini marshmallows
- 6 cups crispy rice cereal
- 1 cup pretzel sticks
- 1/2 cup white chocolate chips
- 1/4 teaspoon orange food coloring
- 1/4 teaspoon brown food coloring
The mini marshmallows ensure that the treats hold their shape, while the pretzel sticks mimic the bone of a turkey leg. The food coloring turns melted white chocolate into a perfect shade resembling roasted turkey skin.
How Do You Make Turkey Legs Rice Crispy Treats Step by Step?
Making Turkey Legs Rice Crispy Treats is straightforward, with just a few simple steps. You’ll melt, mix, mold, and decorate to create these festive treats.
Step 1 — Melt the Butter
In a large saucepan, melt the butter over low heat to ensure it doesn’t burn.
Step 2 — Add Marshmallows
Add the mini marshmallows and stir constantly until they fully melt and become smooth.
Step 3 — Combine with Cereal
Remove the saucepan from heat, then fold in the crispy rice cereal gently until evenly coated.
Step 4 — Shape the Treats
With greased hands, shape portions of the mixture into turkey leg shapes — a rounded top with a handle-like bottom.
Step 5 — Insert Pretzel Sticks
Press a pretzel stick into each shaped treat as the “bone” and secure it gently in place.
Step 6 — Prepare the Melting Chocolate
Melt the white chocolate chips in the microwave in 20-second intervals, stirring between each interval.
Step 7 — Add Coloring and Coat
Mix the orange and brown food coloring into the melted chocolate. Coat each turkey leg treat with the chocolate and allow it to harden on parchment paper before serving.
Frequently Asked Questions About Turkey Legs Rice Crispy Treats
Can I make these treats ahead of time?
Yes, you can prepare these treats up to two days ahead. Just store them in an airtight container at room temperature.
Can I use large marshmallows instead of mini ones?
Yes, but large marshmallows will take longer to melt. Cut them into smaller pieces for easier melting.
What if I don’t have orange and brown food coloring?
You can use cocoa powder for a soft brown color or skip the coloring for a white chocolate coating.
How do I prevent the treats from sticking to my hands?
Grease your hands with butter or non-stick spray before shaping the treats. This makes the process much easier.
How to Serve These Festive Treats?
Serve these treats as a whimsical dessert at Thanksgiving gatherings or any autumn-themed party. For added fun, pair them with a selection of fall desserts or alongside our leftover turkey casserole. They also make excellent edible table decorations!
Expert Tips for Perfect Turkey Legs Rice Crispy Treats
- Work Quickly: Shape the mixture while it’s still warm for easier molding.
- Microwave Chocolate Carefully: Melt in short intervals to avoid burning the chocolate.
- Color in Small Batches: Mix food coloring into small portions of chocolate for precise shades.
- Cool Before Serving: Let the chocolate harden completely to avoid smudges.
Loved this recipe? Save it to your favorite Pinterest board so you can easily find it later! ✨