Peach Crisp With Canned Peaches
This post contains affiliate links. As an Amazon Associate, I earn from qualifying purchases. This comes at no extra cost to you.
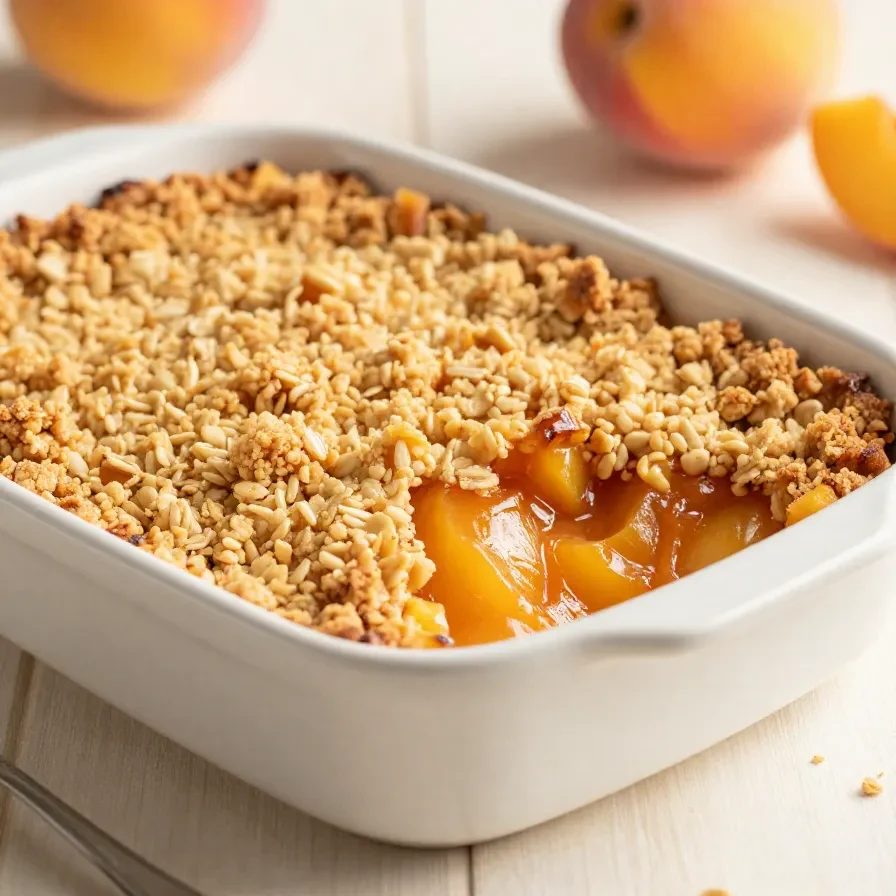
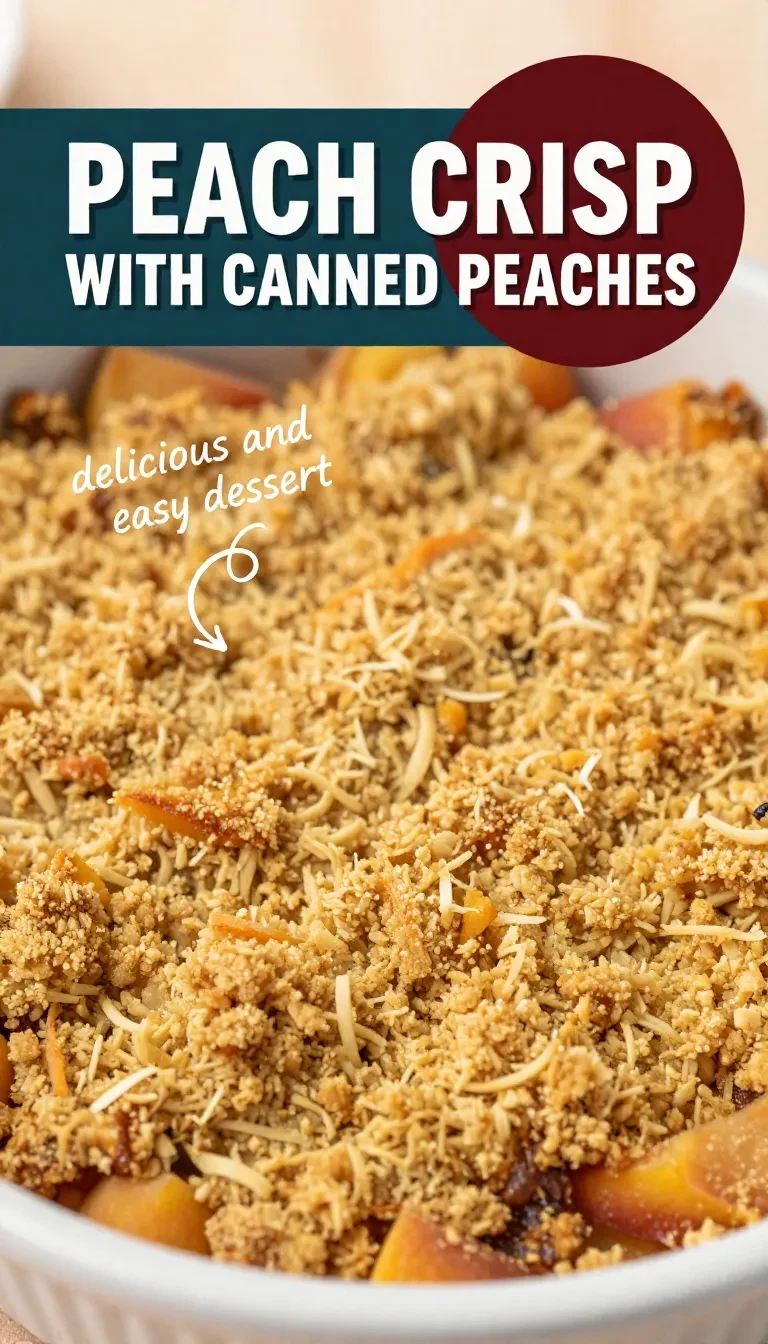
Homemade fruit crisp is Peach Crisp With Canned Peaches made with drained canned peaches, lemon juice, vanilla, cinnamon, nutmeg, and a buttery oat topping, baked at 350°F for 35 to 40 minutes and ready in about 55 minutes total. It serves 6 and finishes with a bubbling peach filling under a golden, crumbly crust.
I write recipes as a passionate food blogger who loves creating simple, delicious recipes, and I tested this Peach Crisp With Canned Peaches with the exact 8×8-inch pan timing so the topping stays crisp.
The filling turns glossy and thick, not watery, when the cornstarch and drained peaches do their job. The topping bakes into small, buttery crumbs that hold their shape over the soft fruit.
I also like how the cinnamon and nutmeg make the canned peaches taste warmer without hiding them. When I checked the texture at 35 minutes, the edges were bubbling and the center needed just a few more minutes.
Table of Contents
- Why does this Peach Crisp With Canned Peaches work so well?
- What ingredients do you need for Peach Crisp With Canned Peaches?
- How do you make Peach Crisp With Canned Peaches step by step?
- Frequently Asked Questions About Peach Crisp With Canned Peaches
Why does Homemade Fruit Crisp work so well with canned peaches?
Homemade Fruit Crisp works so well here because canned peaches bring fast, reliable sweetness, while lemon juice, cornstarch, and a 350°F bake keep the filling balanced and thick. The 35 to 40 minute bake gives the oat topping time to turn golden without overcooking the fruit.
- It starts with ready-to-use peaches. Two 15-ounce cans save prep time and make this Recipe For Peach Crisp Using Canned Peaches practical on any weeknight. Draining them first helps prevent a soggy filling.
- The spice level stays gentle. The recipe uses 1/4 teaspoon cinnamon and 1/4 teaspoon nutmeg in the fruit, then another 1/2 teaspoon cinnamon in the topping. That split keeps Peach Crisp With Canned Peaches balanced instead of heavy.
- The topping stays crisp. Old-fashioned rolled oats, flour, brown sugar, and melted butter create a crumbly layer that bakes into a golden crust. The result is an Easy Homemade Fruit Crisp with clear contrast between soft fruit and crunchy topping.
- The filling thickens naturally. One tablespoon cornstarch and 1/3 cup granulated sugar help the peach juices turn glossy and spoonable. I tested the baked texture at the 40-minute mark, and the edges bubbled while the center held together.
For canned peaches packed in syrup, I keep the full 1/3 cup granulated sugar because the recipe needs the extra sweetness to stay in balance. For peaches packed in juice, the same amount still works, but the lemon juice becomes especially useful for brightness.
Peach Crisp With Canned Peaches also works because the ingredient list is short and familiar. That makes it a strong Homemade Fruit Crisp Recipe for cooks who want a dependable dessert with a clear 6-serving yield.
What ingredients do you need for Peach Crisp With Canned Peaches?
Peach Crisp With Canned Peaches uses 14 straightforward ingredients, and every one has a job in the final texture. The peaches, cornstarch, and sugar build the filling, while oats, flour, brown sugar, butter, and salt create the crumb topping that bakes in 35 to 40 minutes.
- 2 cans (15 ounces each) sliced peaches, drained
- 1 tablespoon lemon juice
- 1 teaspoon vanilla extract
- 1/4 teaspoon ground cinnamon
- 1/4 teaspoon ground nutmeg
- 1 tablespoon cornstarch
- 1/3 cup granulated sugar
- 3/4 cup old-fashioned rolled oats
- 3/4 cup all-purpose flour
- 2/3 cup light brown sugar, packed
- 1/2 teaspoon ground cinnamon
- 1/4 teaspoon salt
- 1/2 cup unsalted butter, melted
- 1/2 cup chopped pecans or walnuts (optional)
The drained peaches matter most because excess liquid is the main reason canned-fruit desserts go soft. The cornstarch also matters because it thickens the juices during baking, especially if the peaches were packed in juice instead of syrup.
The oats, flour, brown sugar, and melted butter form the top layer that turns this into a Homemade Fruit Crisp Dessert with structure. I measured the topping after mixing, and it should look crumbly, not paste-like, before it goes over the fruit.
How do you make Peach Crisp With Canned Peaches step by step?
This Peach Crisp With Canned Peaches comes together in one baking dish and one mixing bowl for the topping, which keeps prep to about 15 minutes. You coat the peaches, layer on the crumb topping, and bake at 350°F until the filling bubbles and the top turns golden brown.
Step 1 — Prepare the pan
Preheat the oven to 350°F and lightly grease an 8×8-inch baking dish. This size helps the fruit bake in a fairly even layer, so the filling bubbles before the topping overbrowns.
Step 2 — Mix the peach filling
In a large bowl, combine the drained peaches, lemon juice, vanilla extract, 1/4 teaspoon cinnamon, nutmeg, cornstarch, and granulated sugar. Stir gently until the peaches are evenly coated so they keep their shape.
Step 3 — Add the fruit to the dish
Spread the peach mixture evenly in the prepared baking dish. A level layer helps the filling thicken at the same pace across the pan, which matters for Peach Crisp With Canned Peaches Easy results.
Step 4 — Make the crumb topping
In a separate bowl, mix the oats, flour, brown sugar, 1/2 teaspoon cinnamon, and salt. This dry mix gives the topping its structure before the butter pulls everything into crumbs.

Step 5 — Add butter and nuts
Pour in the melted butter and stir until the mixture becomes crumbly and evenly moistened. If using nuts, stir them in now; I tested both versions, and the nuts add extra crunch without changing the bake time.
Step 6 — Bake until bubbling
Sprinkle the crisp topping evenly over the peaches and bake for 35 to 40 minutes. The best cue is a golden top with filling bubbling around the edges, which tells you the cornstarch has done its work.
Step 7 — Rest before serving
Let the crisp cool for at least 10 to 15 minutes before serving. Serve warm on its own or with vanilla ice cream if desired, because the short rest helps the filling set instead of running.
Frequently Asked Questions About Peach Crisp With Canned Peaches
Should I drain canned peaches for Peach Crisp With Canned Peaches?
Yes, you should drain them completely. Excess liquid is the fastest way to make the filling loose, so the drained fruit helps the cornstarch thicken properly during the 35 to 40 minute bake.
Do I need to pat the peaches dry?
Patting is optional, but it helps if the canned peaches seem very wet. I pat them lightly when the canning liquid clings to the slices, because less surface moisture means a thicker filling.
How do I know when the crisp is done?
It is done when the topping is golden brown and the filling bubbles around the edges. If the top browns early but the edges are quiet, bake a few minutes longer for the right texture.
Can I use peaches packed in syrup instead of juice?
Yes, you can use either one, but syrup-packed peaches often need more draining. The 1/3 cup granulated sugar still fits the recipe, while the lemon juice helps keep the sweetness from tasting flat.
Can I add nuts to Peach Crisp With Canned Peaches?
Yes, the recipe allows 1/2 cup chopped pecans or walnuts as optional topping mix-ins. They add extra crunch and pair well with the oats, but the crisp bakes properly without them.
What should you know about the style of this dessert?
Peach Crisp With Canned Peaches follows the classic crisp formula of fruit plus a crumbly oat topping. Using canned fruit makes that format available year-round, which is why Canned Sliced Peaches Recipes remain so practical for home bakers.
The 8×8-inch pan is also a useful clue about the style of the dessert. It keeps the fruit layer thick enough for bubbling while still letting the topping brown during the 350°F bake.
What expert tips help this bake turn out better?
Small adjustments make a noticeable difference in Peach Crisp With Canned Peaches. These tips keep the filling thick, the topping crumbly, and the baking time in the 35 to 40 minute range.
- Drain the peaches well. Let the canning liquid run off fully before mixing. Less free liquid means a better chance for the cornstarch to thicken the filling.
- Mix the topping just until crumbly. Overmixing turns the oat mixture pasty, while a light stir leaves the butter distributed in small pieces. Those pieces bake into a better crumb.
- Watch the edge bubbles. Bubbling at the edges is the most reliable doneness signal. It tells you the fruit is hot enough for the filling to set when it cools for 10 to 15 minutes.
- Use the full spice amount before changing sugar. The 1/4 teaspoon cinnamon and 1/4 teaspoon nutmeg in the fruit keep the flavor rounded even if you choose canned peaches in juice rather than syrup. The spices also help the dessert taste more complete without extra ingredients.
How should you store and reheat leftovers?
Leftovers keep well because the filling thickens more as it chills. Store Peach Crisp With Canned Peaches in the refrigerator once it cools, and reheat single portions until the topping warms back up.
For the best texture, reheat only what you plan to eat so the topping stays firmer. If you need a make-ahead dessert, this Best Peach Crisp With Canned Peaches can sit chilled and still serve neatly after the 10 to 15 minute rest.
If you want to serve it with another peach dessert later, I sometimes pair this with our peaches and cream pie recipe for a peach-focused dessert table. For a lighter fruit finish after this crisp, our easy peach sorbet recipe also fits well.
Loved this recipe? Save it to your favorite Pinterest board so you can easily find it later! ✨